
Headboard No. 4
Jun 9, 2008
If there was any prestige in having a journal entry dedicated to you, I’d have to dedicate this one to a reader who sent me a message asking me what the status was on this project.
I gave him a lame excuse about being busy (lame but true) and vowed (to myself) to get back to work on it this weekend. I ended up spending the bulk of my time helping my eldest brother put some stuff together for his radio show instead.
However, I did get to spend a few hours working on the headboard project. I had been cogitating on the problem of getting a straight edge onto an 8’ long plank. My skills with the jointer plane, improvements thereto notwithstanding, were not up to the task. To cut myself some slack, the jointer plane is most efficient when planing the edge of a board not longer than 3 times its length. The problem is that variations on a board longer than that, will just be “followed†by the path of the plane, rather than spanned. At 21â€, that puts the “easy†cap at about 5’. I’m sure an expert craftsman would be able to do it just fine, by meticulously measuring and adjusting his strokes to eliminate the gentle hills and valleys. At any rate, I’m not that good.
So, the next obvious choice was the trusty old craftsman jointer. Its bed is about 4’ so, in theory it should work just fine. The problem with that is that an 8’ X 10†X ¾†plank of cherry is HEAVY. Too heavy, in fact, for me to run through the jointer without hopping or getting off kilter. I know, I tried. I also tried to set up in feed and outfeed rollers. I found it nearly impossible to get them adjusted to the right height.
Like Winnie the Pooh, I thought, and thought, and thought, and thought …
I thought about building a straight-edged sled to clamp the board to and run through the saw. (I may make one of these still). But, I didn’t want another digression off the project. I wanted something quick and dirty.
In the course of building shed 2, I ripped some plywood for the roof and ended up with a long strip of plywood, complete with factory straightedge. At the time, I realized I had what I needed and put aside this scrap for later use.
Sunday was the “laterâ€. I got some double-sided carpet tape, and taped the scrap of plywood along the edge of the board. Instead of running it through as a “sled†I taped it to the top of the board. I love carpet tape, it’s so handy.
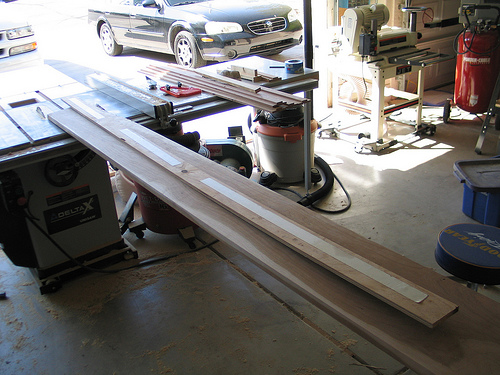
Taped onto top edge.
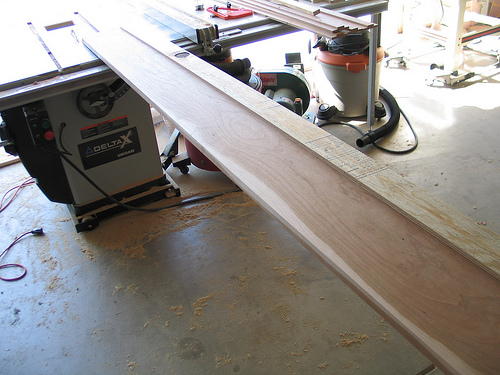
Then I ran the board through the saw, using the plywood straight-edge along the rip fence. It worked like a charm!
I took off the plywood guide, and reapplied the glossy paper over the exposed sticky side of the tape. I should be able to reuse this at least once more, before I have to replace the tape.
Once I had a straight-edge it was “straight†forward to rip out the pieces I needed for assembling the posts for the sides of the headboard.
As it turned out, I had a little more waste than anticipated and needed to rethink my cuts.After getting a straight-edge and accounting for saw kerfs, I had to make some changes to get all the pieces I’d need.  Fortunately, I was able to do so.
After getting these pieces ripped to about 1/32†wider than needed to allow for planing the edges smooth, I realized that my saw blade must be getting a little dull. The 3 HP Unisaw is so powerful, I didn’t notice any issues cutting, but I did notice that the edges were a little scorched.
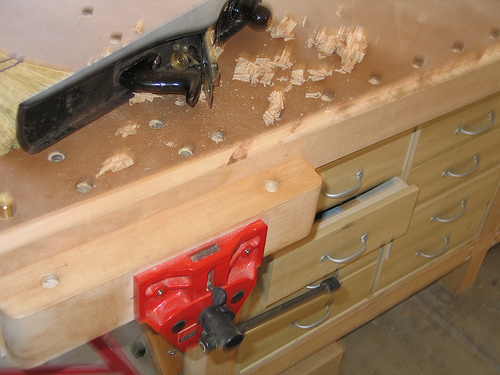
Out came the 21†jointer plane. By this time the boards had been rough cut to about 55â€, so there were no limitations. And they were already fairly square.
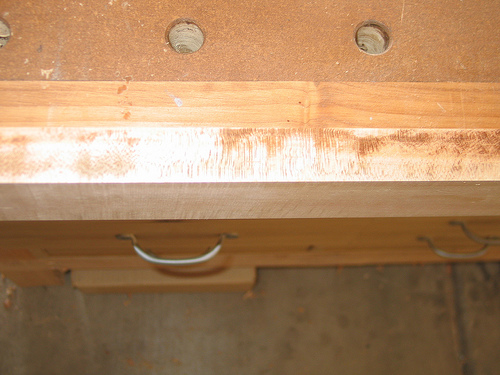
After planing …

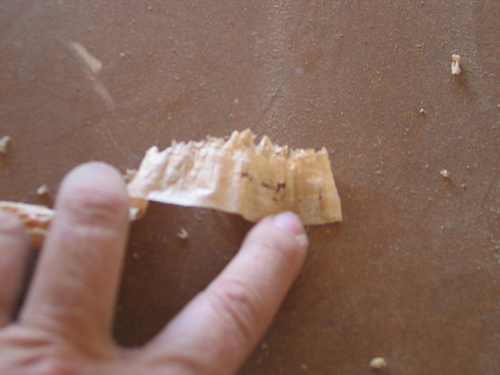
I had anticipated planing the edges for optimal glue bonding, and for the tightest possible joint line anyway. Hence I cut the boards a little wide. As I started planing, I had an edge that had been run through the old jointer. The jointer left a series of bumps crosswise along the length of the board. I definitely wanted to get rid of those prior to gluing the edge. Running the plane along the board gave a sensation of running your finger nail across corduroy cross-ways. It also was also audible.
You can sort of see the ridges in this thin shaving off the corduroy surface:
As it turned out, I was only able to bear a few hours out in the shop. I think summer has officially arrived in the Valley of the Sun.
But, it’s undeniably progress!
Sign Up For Post Alerts!
 The posts are coming!
Currently Reading
-

Truman by David McCullough -

Kingdom of Caine by Andrew Klavan -

Complete Stories and Poems by Edgar Allan Poe
0 comments
Kick things off by filling out the form below.
Leave a Comment